10 Effective Steps for Surface Disinfection Every Hobbyist Should Know
10 Effective Steps for Surface Disinfection Every Hobbyist Should Know
Whether you’re a craft enthusiast, a model builder, or simply love DIY projects, maintaining a clean workspace is essential for both safety and quality. Disinfecting your surfaces not only ensures the longevity of your tools and materials but also promotes a healthier environment. Here are ten effective steps every hobbyist should know for surface disinfection.
1. Gather Your Supplies
Before you begin, gather all necessary supplies. You will need disinfectant wipes or a spray solution, clean cloths, rubber gloves, and a bucket of soapy water. These items will prepare you for an efficient cleaning process while keeping your hands protected.
2. Clear the Surface
Remove all items from the surface you intend to disinfect. This includes tools, materials, and any decor. Organizing your workspace not only allows for a thorough cleaning but also helps you keep track of your supplies.
3. Dust and Debris Removal
Use a dry cloth or a duster to remove dust and debris from the surface. Grit and dirt can interfere with disinfectants, making them less effective. Ensure you get into corners and crevices where dust tends to accumulate.
4. Wash the Surface
Mix a mild soap with warm water in a bucket. Use a clean cloth to wash the surface thoroughly, ensuring you eliminate any remaining grime. Rinse the cloth regularly to avoid spreading dirt back onto the surface. This step is crucial, as disinfectants work best on clean surfaces.
5. Choose a Suitable Disinfectant
Select a disinfectant that is appropriate for your surface material. Some materials require specific types of cleaners, so always check the manufacturer’s recommendations. Common options include alcohol-based wipes, bleach solutions, or commercially available disinfectant sprays.
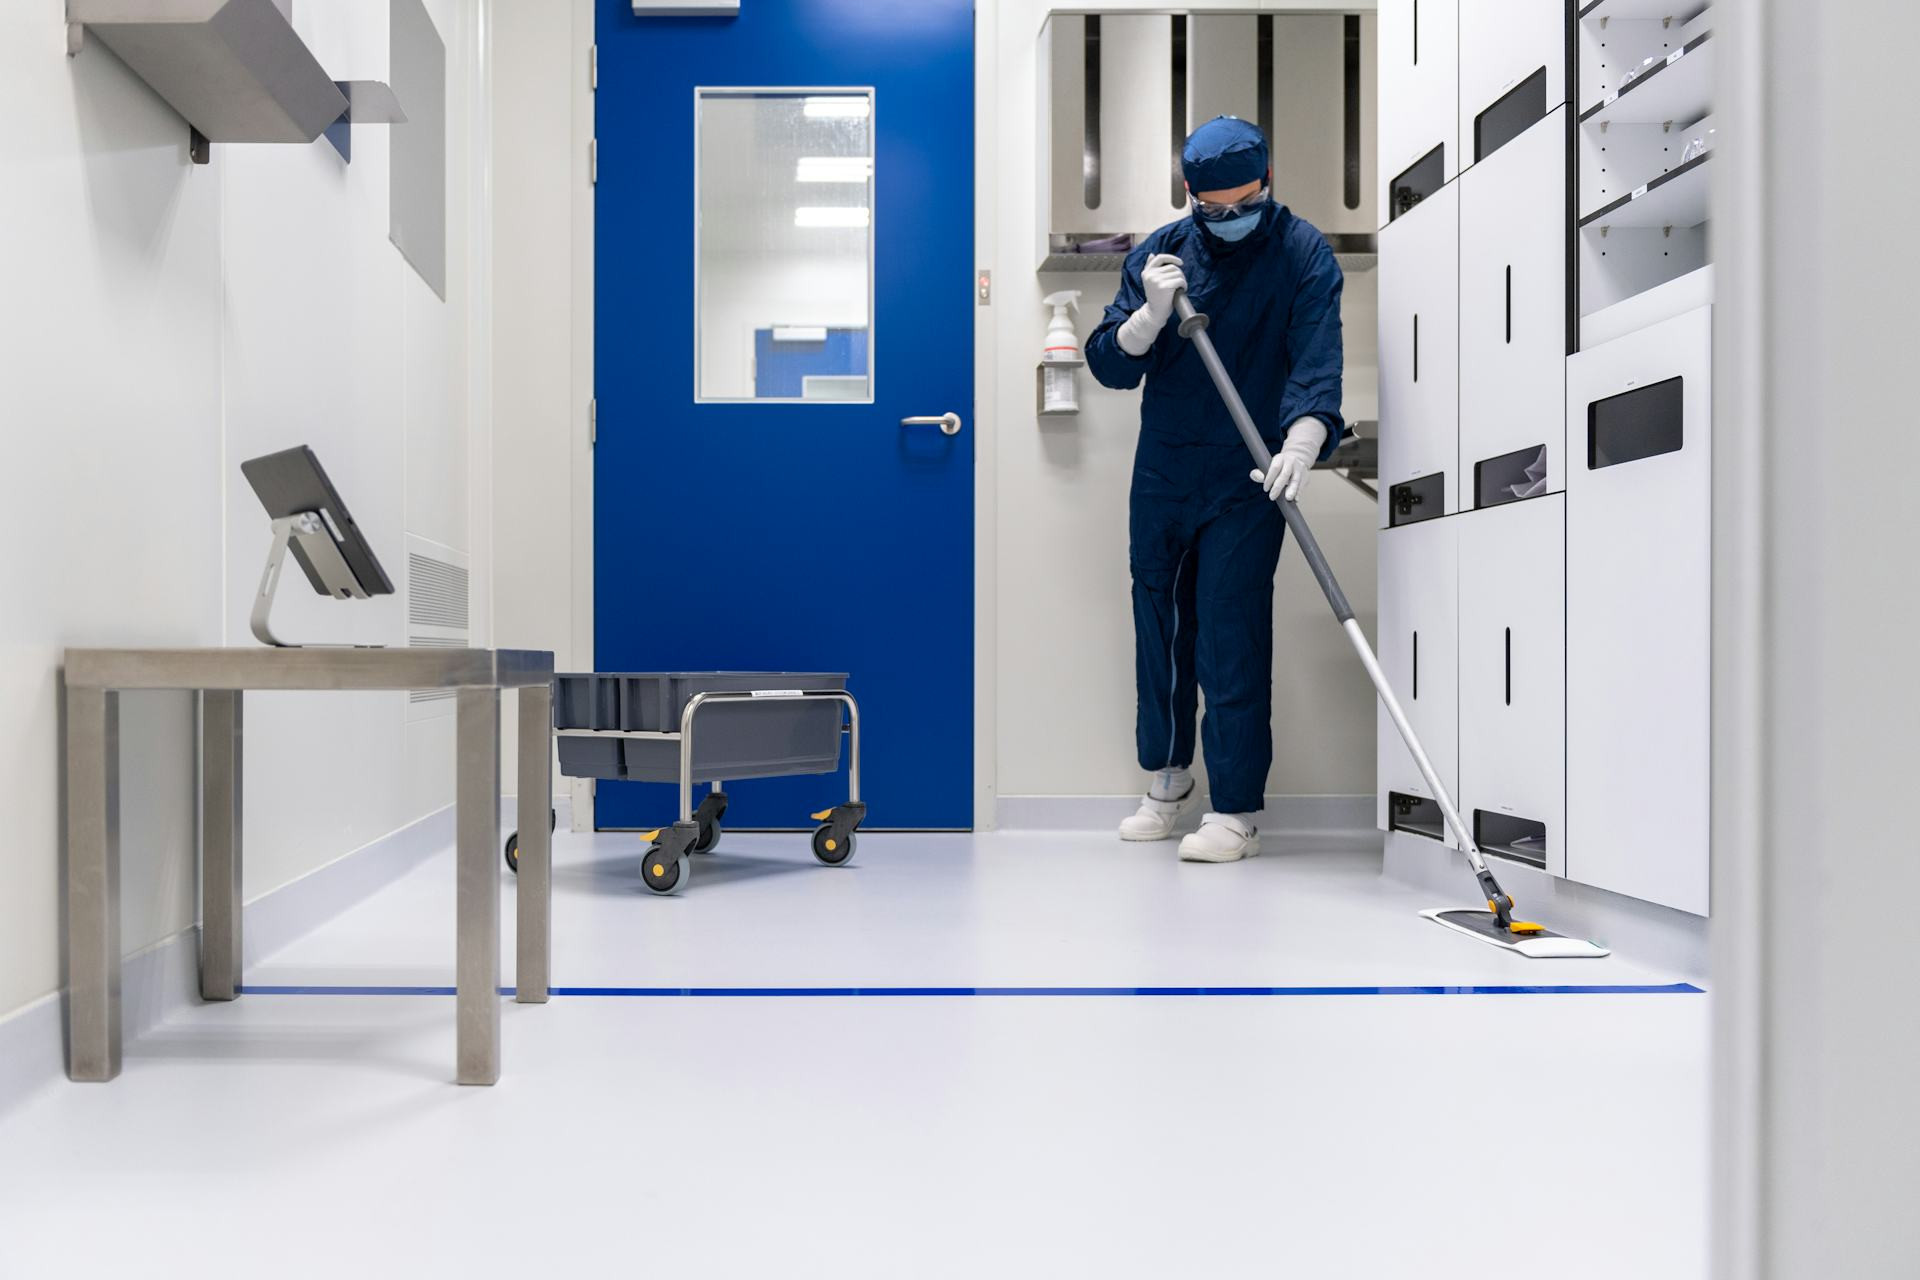
6. Apply the Disinfectant
Follow the instructions on your chosen disinfectant for application. For sprays, hold the bottle about 6–8 inches from the surface and apply evenly. For wipes, simply use them to wipe down the surfaces, making sure to cover all areas.
7. Allow for Contact Time
After applying the disinfectant, it’s essential to let it sit for the recommended contact time. This duration allows the disinfectant to effectively kill germs and bacteria. Most solutions require at least 1-10 minutes. Refer to the product label for specific instructions.
8. Wipe Down the Surface
Once the contact time has elapsed, use a clean cloth to wipe down the surface thoroughly. This step ensures that any residue from the disinfectant is removed, leaving your workspace clean and safe. Dispose of any used wipes or paper towels appropriately.
9. Clean Your Tools
As you finished disinfecting your workspace, dont forget to clean your tools. Depending on the type of tool, you may use disinfectant wipes or a suitable cleaning solution. Maintaining clean tools is crucial, as they can harbor bacteria that may transfer to your projects.
10. Establish a Routine
Regular disinfecting should become a part of your hobby routine. Set a schedule for weekly or bi-weekly cleans depending on how frequently you work on projects. A regular cleaning routine ensures that your workspace remains a safe and enjoyable area for all your creative endeavors.
By following these ten effective steps, you can maintain a clean and safe workspace, allowing you to focus on what you love most—your hobbies. Remember that the key to effective surface disinfection is consistency and proper technique.